12. Launching the Notebook Server
Launching the Notebook Server
To start a notebook server using a command-line interface, open the Terminal/Anaconda prompt, and navigate to the directory where you'd like to create notebook files (.ipynb). You can confirm the present working directory using pwd.
cd <directory_path>
pwd
Next, enter the following command in your terminal/Anaconda prompt
jupyter notebook
The command above will start the Notebook server in the current directory. Typically you'd want to start the server in the directory where your existing-notebooks reside. However, you can navigate through your file system to where the notebooks are present.
Unable to Start the Jupyter Notebook Server?
Try troubleshooting the problem with the help of this post - What to do when things go wrong?
Starting a Notebook server in the default base environment. The jupyter notebook command will behave the same in both MacOS/Linux and Windows.
Notebook Server Walkaround
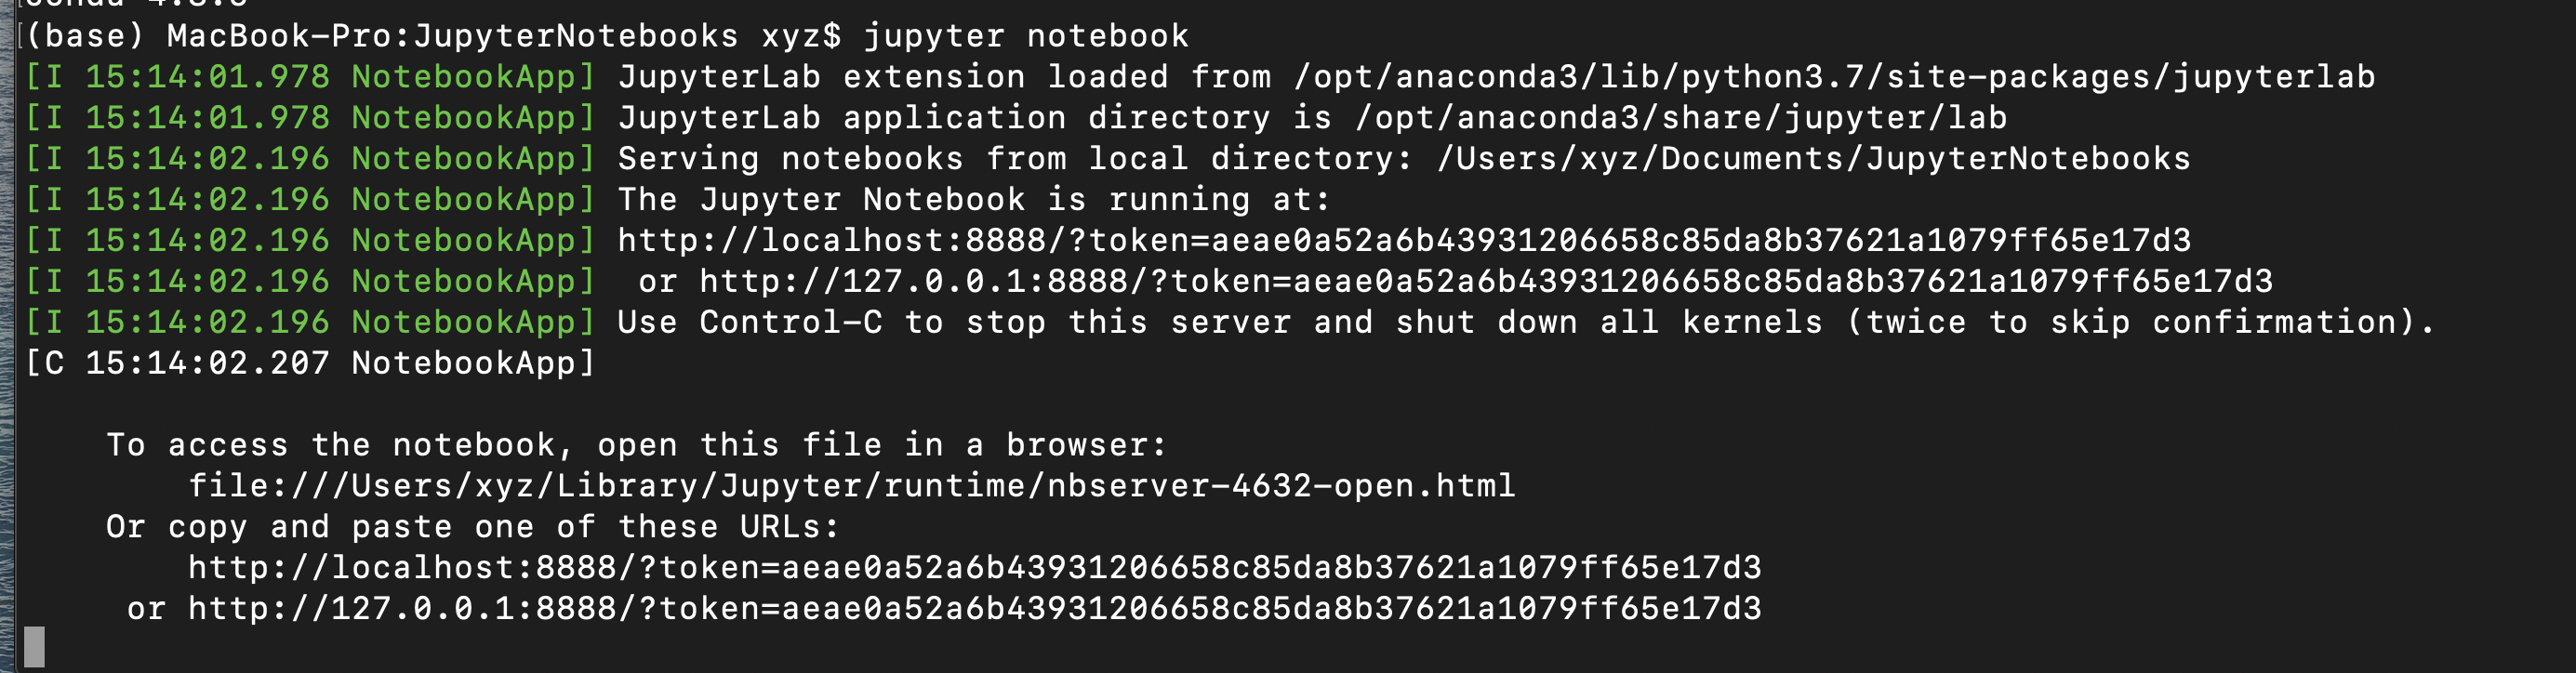
When you run the jupyter notebook command (try it yourself!), the server home should open in your browser. By default, the notebook server runs at http://localhost:8888. If you aren't familiar with this, localhost means your computer and 8888 is the port the server is communicating on. As long as the server is still running, you can always come back to it by going to http://localhost:8888 in your browser.
If you start another server, it'll try to use port 8888, but since it is occupied, the new server will run on port 8889. Then, you'd connect to it at http://localhost:8889. Every additional notebook server will increment the port number like this.
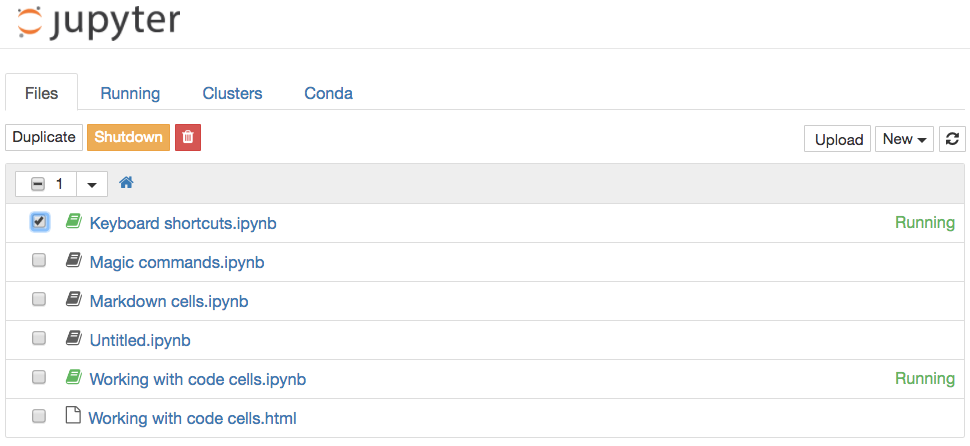
If you tried starting your own server, it should look something like this:
A snapshot of Jupyter Notebook Server
You might see some files and folders in the list here, it depends on where you started the server from.
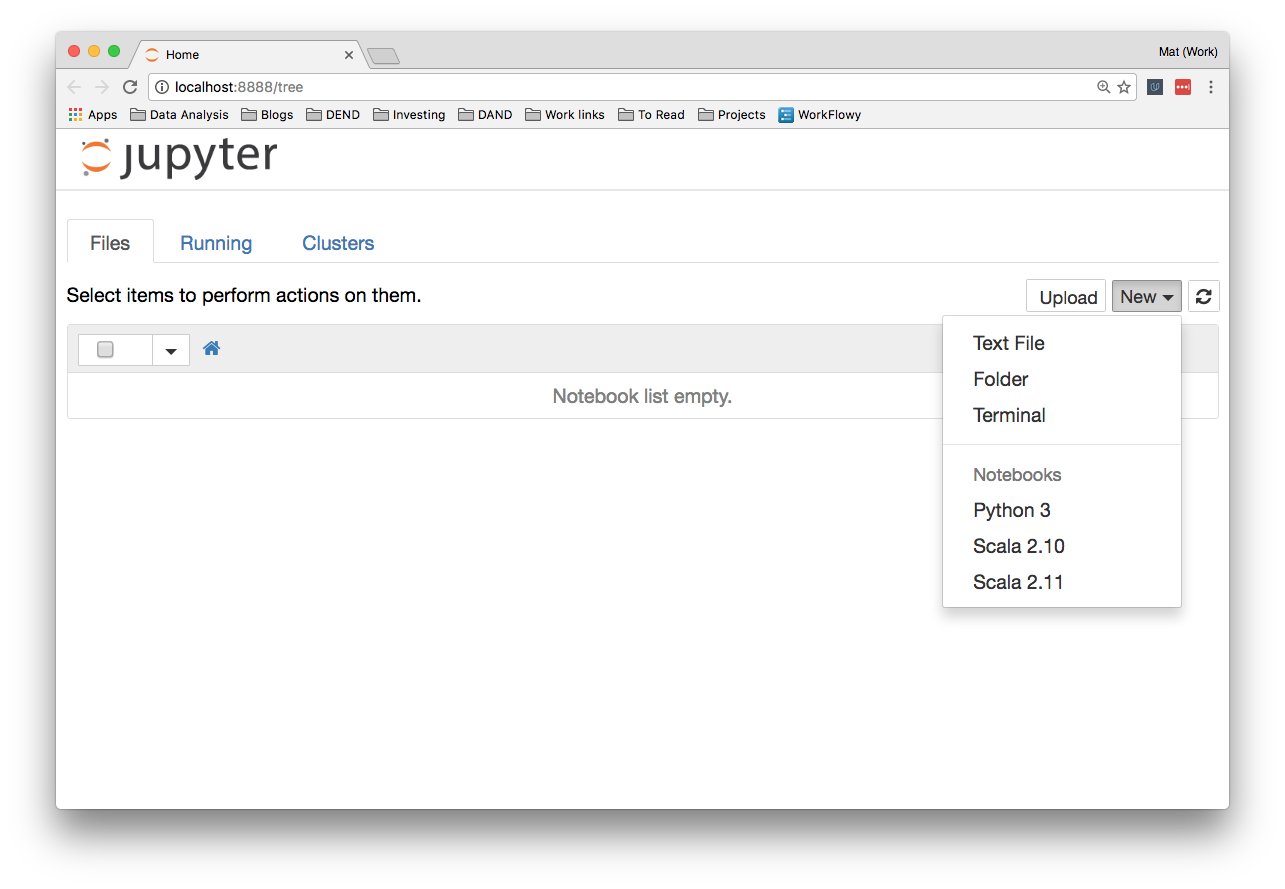
Create a New Notebook
Over on the right, you can click on "New" to create a new notebook, text file, folder, or terminal. The list under "Notebooks" shows the kernels you have installed. Here I'm running the server in a Python 3 environment, so I have a Python 3 kernel available. You might see Python 2 here. I've also installed kernels for Scala 2.10 and 2.11 which you see in the list. See this documentation for how to install kernels if you ever need to do so.
Jupyter Notebook Server Tabs
The tabs at the top show Files, Running, and Cluster. Files shows all the files and folders in the current directory. Clicking on the Running tab will list all the currently running notebooks. From there you can manage them.
Clusters previously was where you'd create multiple kernels for use in parallel computing. Now that's been taken over by ipyparallel so there isn't much to do there.
Notebook Conda Package
You should consider installing the Notebook Conda package to help manage your environments. Run the following terminal command:
conda install nb_conda
After successful installation of the nb_conda package, if you run the notebook server from a conda environment, you'll also have access to the "Conda" tab shown below. Here you can manage your environments from within Jupyter. You can create new environments, install packages, update packages, export environments, and much more.
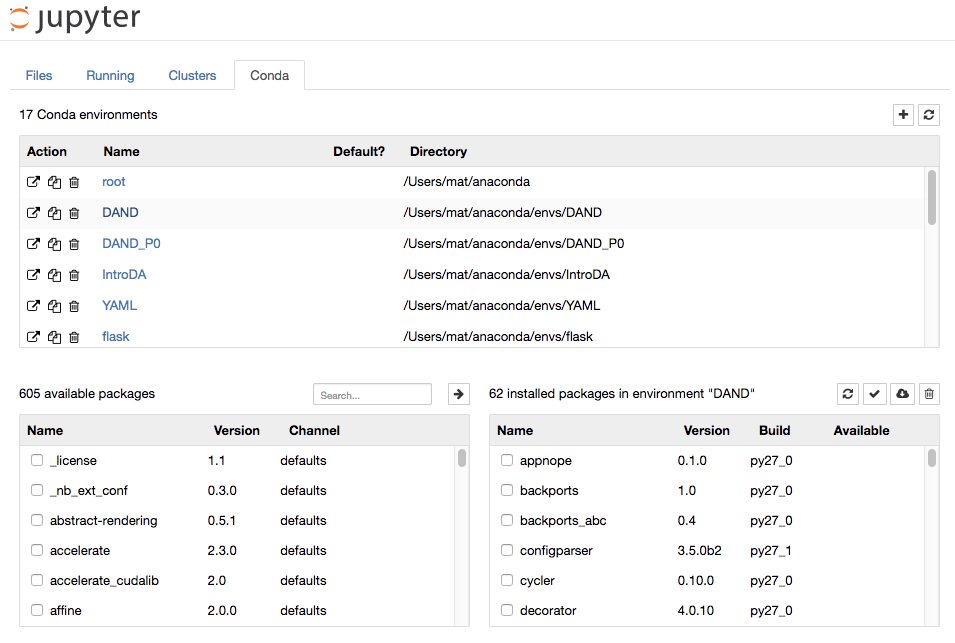
conda tab in Jupyter
Additionally, with nb_conda installed you will be able to access any of your conda environments when choosing a kernel. For example, the image below shows an example of creating a new notebook on a machine with several different conda environments:
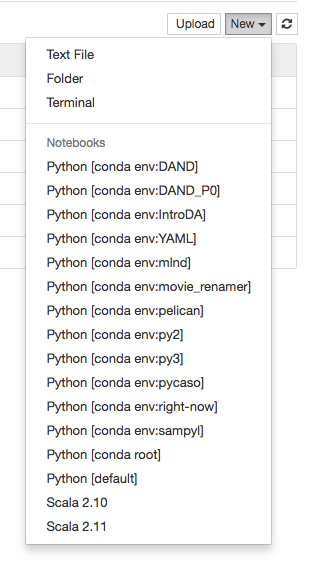
conda environments in Jupyter
Shutting down Jupyter
You can shutdown individual notebooks by marking the checkbox next to the notebook on the server home and clicking "Shutdown." Make sure you've saved your work before you do this though! Any changes since the last time you saved will be lost. You'll also need to rerun the code the next time you run the notebook.
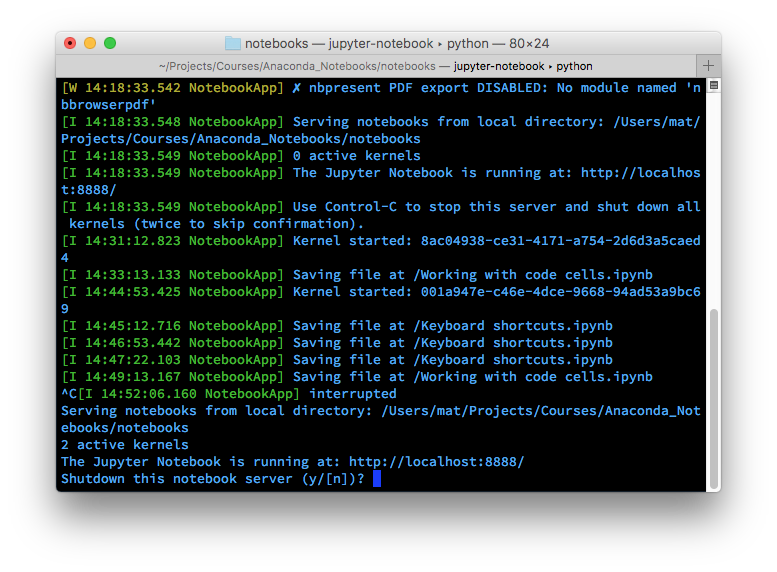
You can shutdown the entire server by pressing control + C twice in the terminal. Again, this will immediately shutdown all the running notebooks, so make sure your work is saved!
Multiple Servers